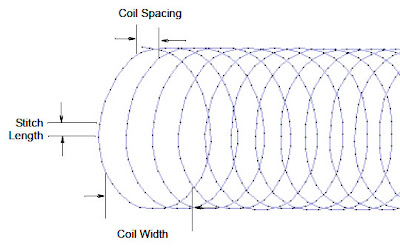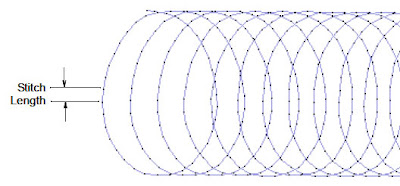
You can set the Coil stitch values for stitch length, spacing and width.
Adjusting Coil stitch length
You can set the Coil stitch values for stitch length.

To adjust Coil stitch length
1. Select the object.
2. Right-click the Coil icon.
The Object Properties dialog opens.

3. Adjust stitch settings in the Stitch Values panel:
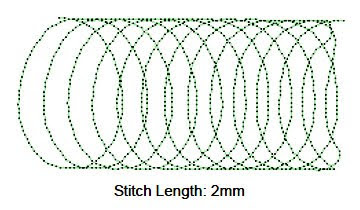
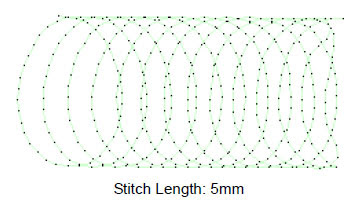
! Stitch Length: This sets the length of each stitch.


4. Click OK.
Note The Smart Corners effect can be used with Coil for Input C objects. See Smart Corners in the Wilcom ES User Manual for further
details.


