There are two ways to customize machine formats:
! Create a new format, based on the original, and make it available to all designs. See Creating custom machine formats for details.
! Modify the format for a specific design, creating a custom format to use only with that design. See Customizing machine formats for specific designs for details.
If necessary, you can update the standard machine format itself. However, you should only do this if the original values are no longer used. Chenille machines have the same machine format values as the standard lockstitch Melco except for the following.

Note : You should only modify the standard formats if you no longer require the original values.
You can create a new machine format based on a standard machine format, and make it available to all designs.
To create custome machine formats
1. From the Select Machine Format dialog, select a machine format on which to base the new format. See Selecting machine formats for details.
2. Click Create.
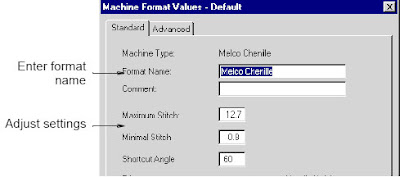
The Machine Format Values > Standard tab opens.

3. In the Format Name field, enter a name for the new format.
The name of the format you based it on and a number appear as the default — e.g. Melco - 1.
4. In the Comment field, enter any information that will help you identify the machine format — e.g. No Trim.
5. Adjust the machine format settings as required.
6. Click the Advanced tab and adjust the settings as required.
7. Click Save.
The new format appears in the Available Machine Formats list.
8. Click OK.


