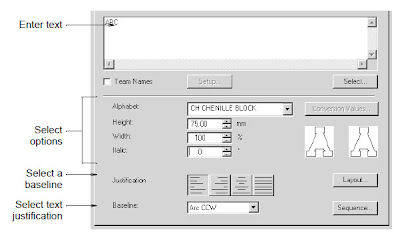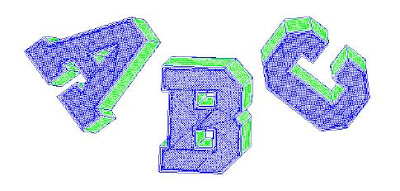
Using the Object Properties - Lettering dialog, you can specify letter formatting before adding it to the design. This is the more traditional method and is useful with more complex designs.
To create lettering with the Lettering dialog
1. Open a new file or design using the ES Chenille template.
The ES Chenille template defaults the system to chenille values. You can modify the template to suit your machine.
2. Click either the Chain or Moss icon.
3. Right-click the Lettering icon.
The Object Properties - Lettering dialog opens.

4. Enter the text you want to embroider in the text entry panel.
To start a new line of lettering, press Enter.
Tip : You can insert a color change between two letters by keying a caret
(^) symbol. Subsequent letters default to the next color in the palette.
5. Select alphabet, formatting and baseline settings for the lettering.
6. Click OK.
7. Click where you want to place the lettering, or mark reference points for the baseline you selected.
8. Press Enter.
9. Select Stitch > Generate Stitchles or press G.

Note : Letters are filled with stitches according to current settings in the Fill Stitch and Connectors tabs of the Object Properties - Lettering dialog. Some alphabets properties cannot be changed, they remain as they were originally digitized.


